
Have you seen those SVGs where the words are slanted and the letters get bigger toward the end of the word? I think they look really neat and today I’m going to teach you how to achieve this same look using the warp tool.
Step 1: Write out the Text
Step 2: Warp the Text
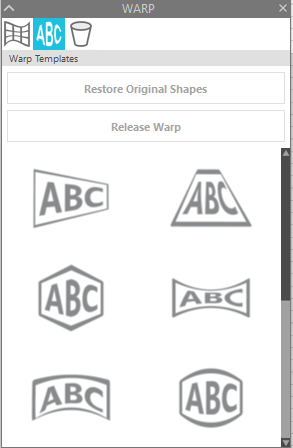
To use the warp tool, you need Designer’s Edition or higher. Over on the bottom right side panel, you’ll find the warp tool. Then click on the ABC panel and choose which way you’d like to warp the text. I’m using the first one where the text gets smaller going from left to right.
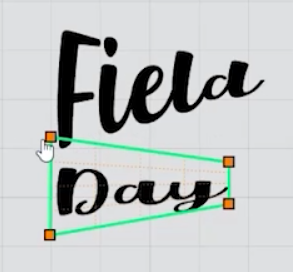
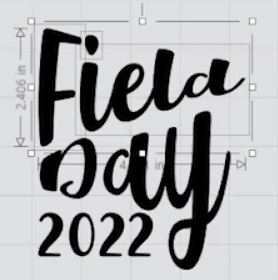
Click on your first word and then the warp style. This will bring up a warp box on top of the text. You can drag the gold boxes to adjust the warp. On the word “field,” I took the left side of the warp box up 3 inches and down 3 inches. On the right side, I went up 1 inch.
Do the opposite to the next word. For the word “Day,” I clicked on the same warp style, but then reversed it. I took the left side and made it one inch apart and on the right side, I went up 4 boxes and down 2 boxes to fill in the gaps.
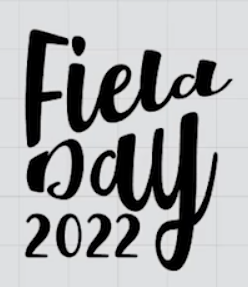
With all the warping done, add “2022” to the left of the “Y” in “day,” filling in the rest of the area.
Step 3: Prepare the Words for Cutting
Since I’m using a script font I have a few more steps before I can cut out this design. If you want each word to be cut from a different color, select each word and then weld and make a compound path. Making it a compound path will ensure all the letters that don’t connect stay with the rest of the word when cutting.
I selected the word “field” and welded it together. The “F” doesn’t connect to the rest of the word and neither does the dot over the “I.” Selecting all these pieces and making it a compound path glue them all together in the correct position.
I repeated this process for the word “Day” and also “2022.” Now each part can be cut from a different color.
For a more in-depth look at how to warp your text check out the video below.


