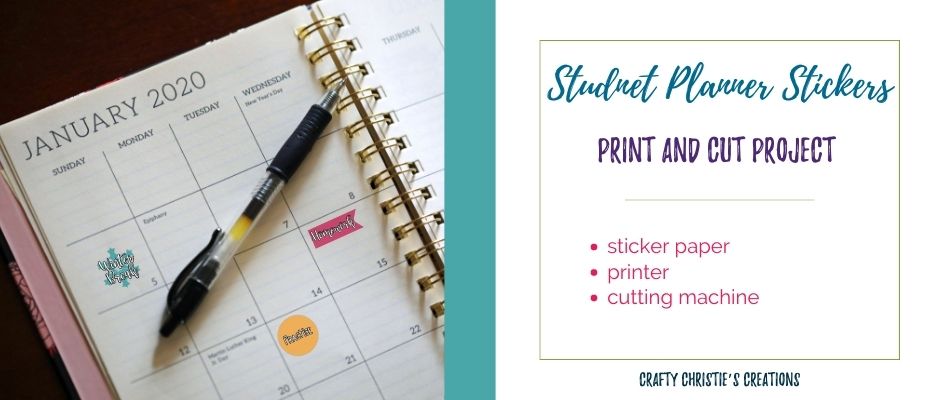
Staying organized and not missing an assignment can be difficult to do when you have multiple classes throughout the week. Something I wish I had to help me was planner stickers. Today, I bring you print and cut Student Planner Stickers!
Supplies:
Student Planner Stickers (complete form below)
Sticker Paper
Printer
Cameo 4
Nicapa Cutting Mat
Step 1: Download the FREE Files
Complete the form at the bottom of this page to grab your copy of these FREE student planner stickers. Unzip the file, open Silhouette Studio, and navigate to where you saved the svg files. There are 3 different sticker pages. Make as many copies of each as you need!
Step 2: Prepare the Student Planner Stickers for Cutting
On the page setup tab click to show print and cut borders. Turn on the registration marks and check the print preview to ensure all the marks are within the print border.
Step 3: Print the Planner Stickers
After you make adjustments to the registration marks, print the page. Once it is printed do not make any adjustments to the designs on the page.
Step 4: Cut out the Student Planner Stickers
Use the “Cut by Line Color” tab on the send panel to cut out the stickers on page 2 and 3. Select the black and brown colors to cut the outlines around each sticker. On sticker page 1 use the “Cut by Fill Color” tab and cut all the colors except black and white. This cuts the outlines of each flag.
Step 5: Decorate Your Planner
Use the stickers to mark things in your planner. You’ll never miss a quiz or try-out again!


