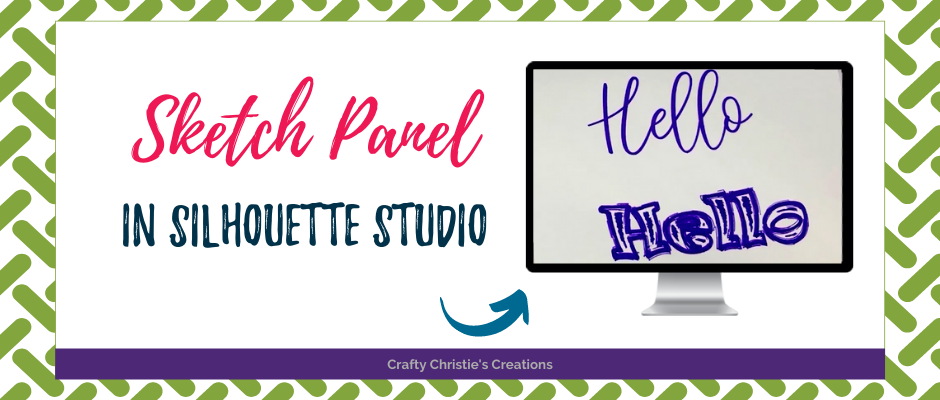
Silhouette has so many amazing functions, I’m still learning and rediscovering them all the time. Lately, I’ve been having fun playing with my foil quill and sketching.
Through my sketching, I rediscovered the sketch panel in Silhouette Studio. This panel is in the basic edition, but the designer’s edition and higher have a lot more features.
Let me walk you through the sketch panel and show you how the different effects work.
Supplies:
Step 1: Open the Sketch Panel
In the sketch panel, you will see there are fills and outlines. Each fill has a different pattern. Each outline makes a different effect.
Step 2: Write Out the Word
Use the type tool to write out hello. Choose which font you’d like and then weld the text together.
Step 3: Choose a Sketch Fill
With the word selected choose a sketch fill. Then use the spacing and angle sliders to adjust the sketch fill. I like to slide the spacing to the smallest amount to completely fill in the word.
Step 4: Prepare the Pen Holder
Choose which pen or marker you’d like to use. Then see which size adapter will fit the pen. Place the adapter over the pen then insert the pen into the holder. Push the pen down until the tip hits the cap on the pen holder. Now screw in the adapter to hold the pen securely.
Step 5: Send to Machine
In the send panel, change the action to sketch. Load your material into the machine and hit send.
I really love this technique for addressing envelopes and writing messages inside of cards. I don’t have to worry about my messy handwriting. Everything comes out looking so beautiful and professional.
Without using the sketch fill for text, only the outlines will be written. If you’re using a thicker marker it might fill in the font. Otherwise, this technique is your best bet.
Check out the video below for a more in-depth demonstration of the sketch panel.


