Please note: this post may contain affiliate links to products I use. When you purchase items from these links, I make a small commission that helps fund craft projects I share with you. This does NOT cost you anything extra, but it is a great way to show your appreciation for Crafty Christie’s Creations.
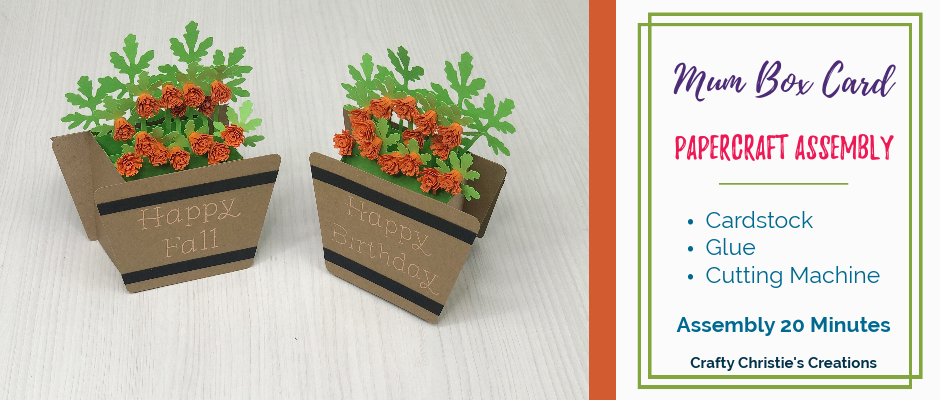
I’m thrilled to walk you through the process of assembling a beautiful Mum Box Card using my SVG cut file. In this blog post, we’ll be creating a card adorned with intricate floral designs and a wine barrel-inspired base, perfect for any special occasion.
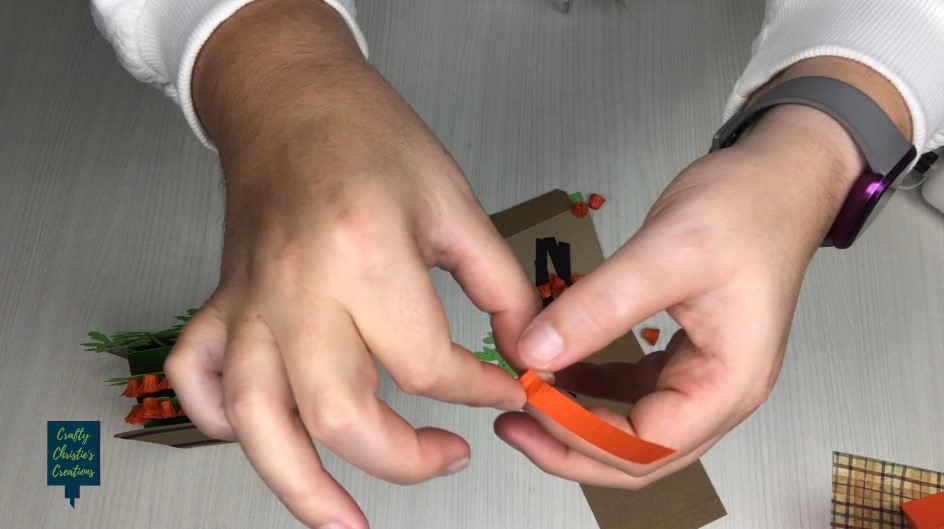
Now, let’s get hands-on and create those stunning rolled mum flowers. Grab an orange strip and some glue. Roll the strip up in your fingers, or use a quilling tool to make tight rolls. Put a dot of glue on the solid part at the bottom to hold the roll together. Repeat this process for all 14 strips of paper.
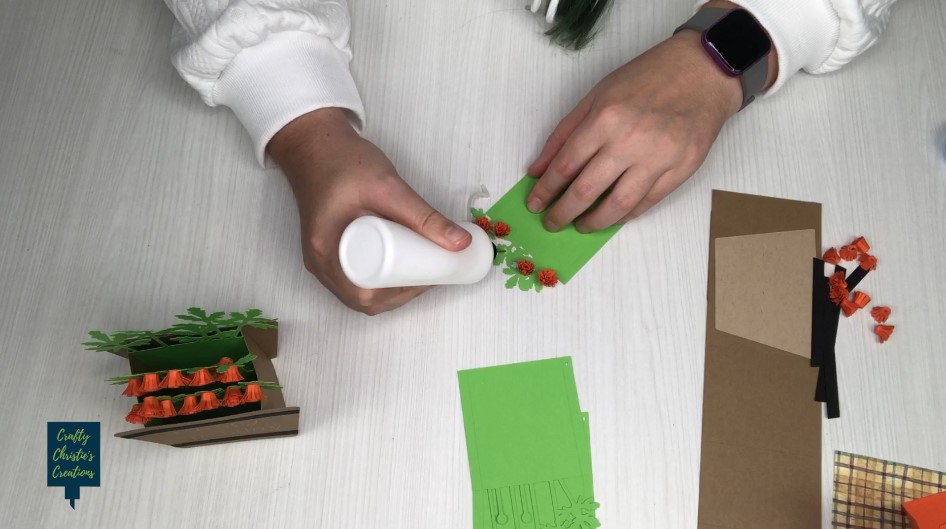
Fluff out the flowers and add them to the circles on inserts 1 and 2. These circles might be hard to find buried in the leaves, do your best.
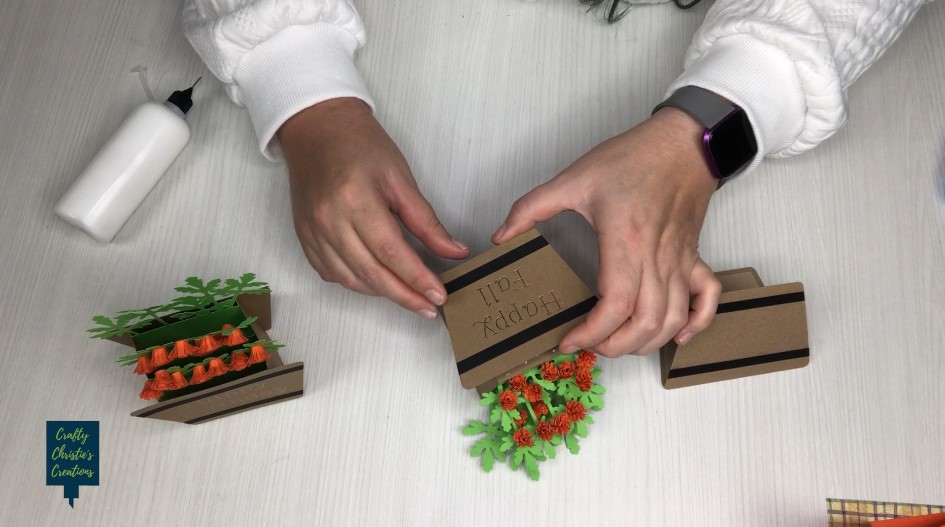
Step 2: Build the Card Front
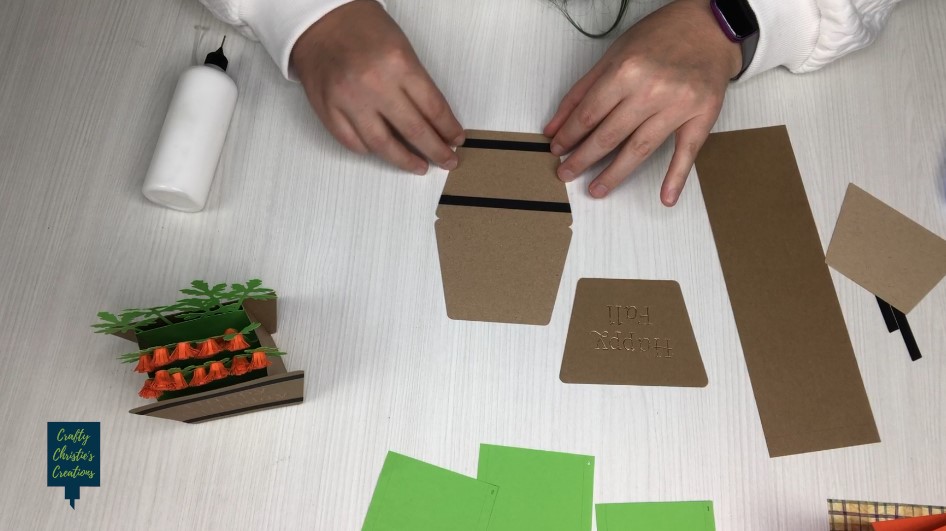
Let’s work on the focal point of our Mum Box Card—the front. Use the scorelines on the card front to add the black strips to the top and bottom. There are 2 different sentiments for this card, “Happy Birthday” and “Happy Fall.” They will fit inside the scoreline marks. These sentiments can be sketched, foiled, or print and cut.
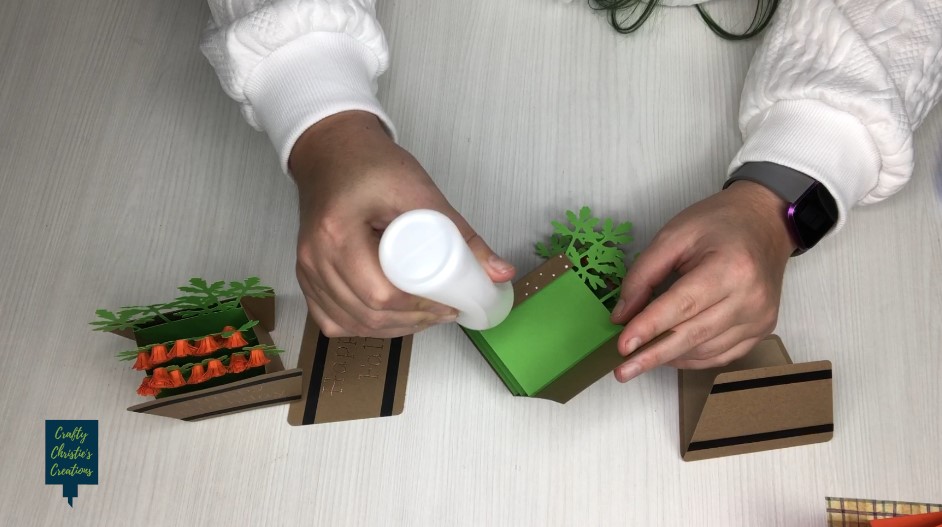
Step 3: Adding the Card Inserts
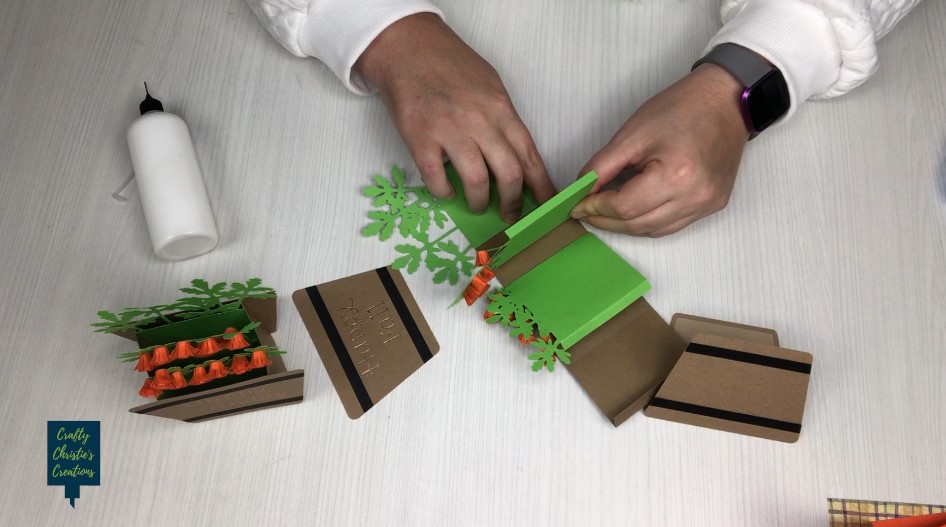
Now, let’s put together the card’s structure. Fold on the scorelines on the card box, you will notice there are 2 sides that are slightly larger, these are the front and back. On the insert panels, fold on the scorelines. The glue tabs with numbers should be added to the side of the box. Space the insert panels evenly throughout the box. All this can be done with the card box laying flat.
Add glue to the other glue tabs on the insert panels and fold the side wall down flat over the tabs. Then close up the box by adhering the tab to the inside of the box.
Step 4: Add a Personal Message
Time to add a personal touch with a note card for the back of the box. On the front of the notecard add the 2 black strips like on the card front. Layer the inside of the notecard, this is where you can write your message.
Step 5: Finishing the Mum Box Card
Add the card front to the box. It should sit flush on top and bottom and centered side to side. Repeat this to add the notecard to the back. Work the card in both directions to ensure it will flatten for mailing.
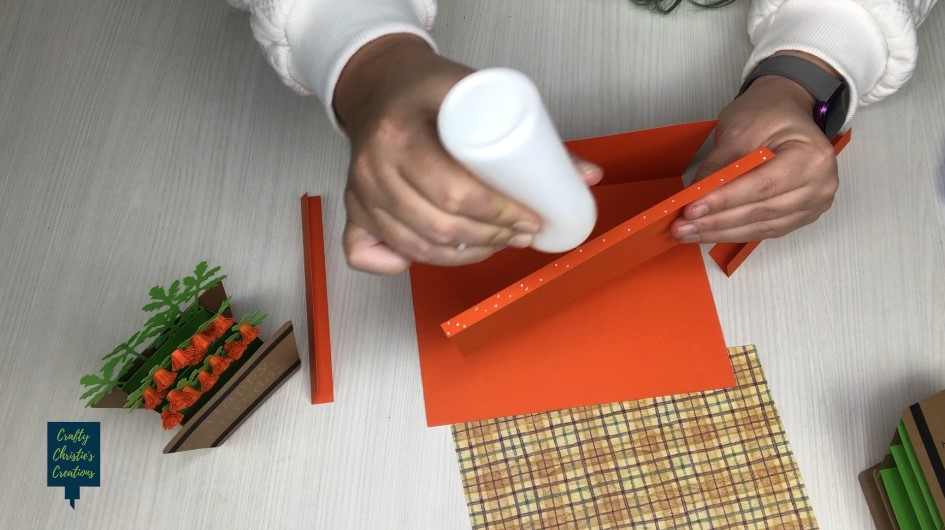
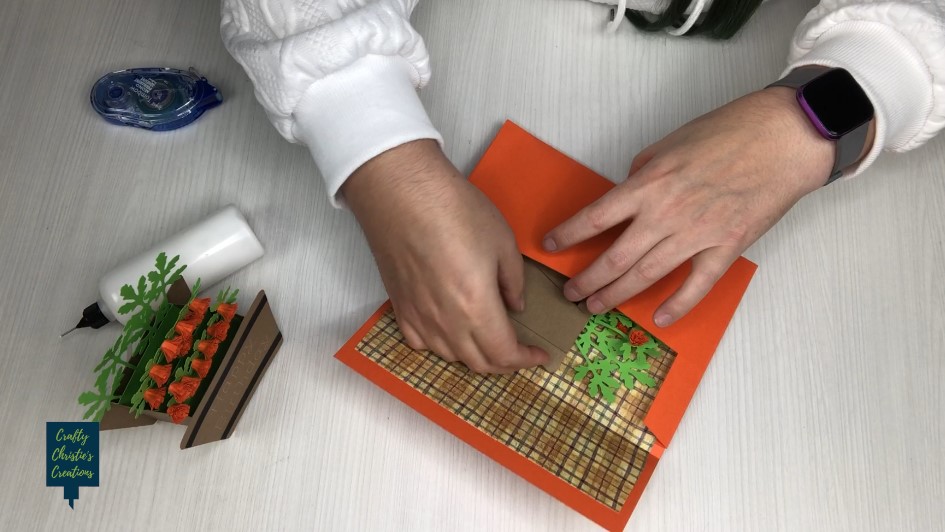
Step 6: Build The Envelope
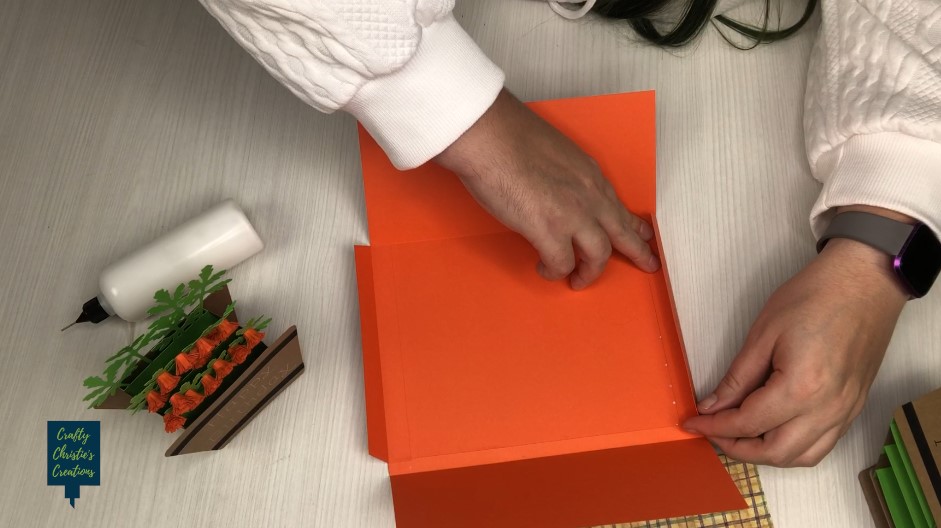
I’ve designed a special envelope just for this Mum Box Card. The large element is the front of the envelope and the bottom. Attach the top flap of the envelope using the glue tab. Make it flush at the top. The 2 side folds have an angled side and a flat side. The flat side is the glue tab. Align it to the bottom fold and flush to the edges.
Don’t worry about the glue tabs showing, the inside liner will hide all the tabs and add extra sophistication to the envelope. Center the liner on the top flap of the envelope so the scorelines meet. Glue this part down first, then glue down the rest of the liner.
Step 7: Put the Mum Box Card in the Mail
There you have it, fellow crafters! As I did in the tutorial, you’ve successfully crafted a stunning Mum Box Card. With intricate flowers, a heartfelt message, and a personalized envelope, your creation is ready to be gifted to someone special. Enjoy the satisfaction of your creative prowess!