As the leaves turn and the air gets crisp, it’s the perfect time to start crafting those cozy, fall-inspired projects. Today, I’m excited to share a technique that will bring a radiant touch to your autumn cards: multicolor heat foiling! This technique adds a dazzling, professional finish that takes your Happy Harvest Card SVG to the next level. In this tutorial, I’ll walk you through the steps to achieve this stunning effect, making your seasonal greetings shimmer with all the warmth and richness of the season. So grab your favorite foils, fire up your Silhouette, and let’s get crafting!
Supplies:
Happy Harvest Card SVG
Lucky Green Hot Foil
Copper Hot Foil
Chili Red Hot Foil
Silhouette Heat Pen
Cameo 5
Electrostatic Mat
Brown Cardstock
Green Cardstock
Gold Foil Cardstock
Orange Cardstock
White Cardstock
Step 1: Cut the Card Pieces
Normally I do all the heat foiling first, but with the electrostatic mat I can do the cutting first. The foil doesn’t stick to the mat like it does on a sticky mat. Cut out all the layers that have no foil elements. Save the card base and white layers for last.
Step 2: Apply the Heat Foil
Cut and score the card base. Remove the excess cardstock without moving the card base. Decide if you want to foil straight across or on a diagonal.
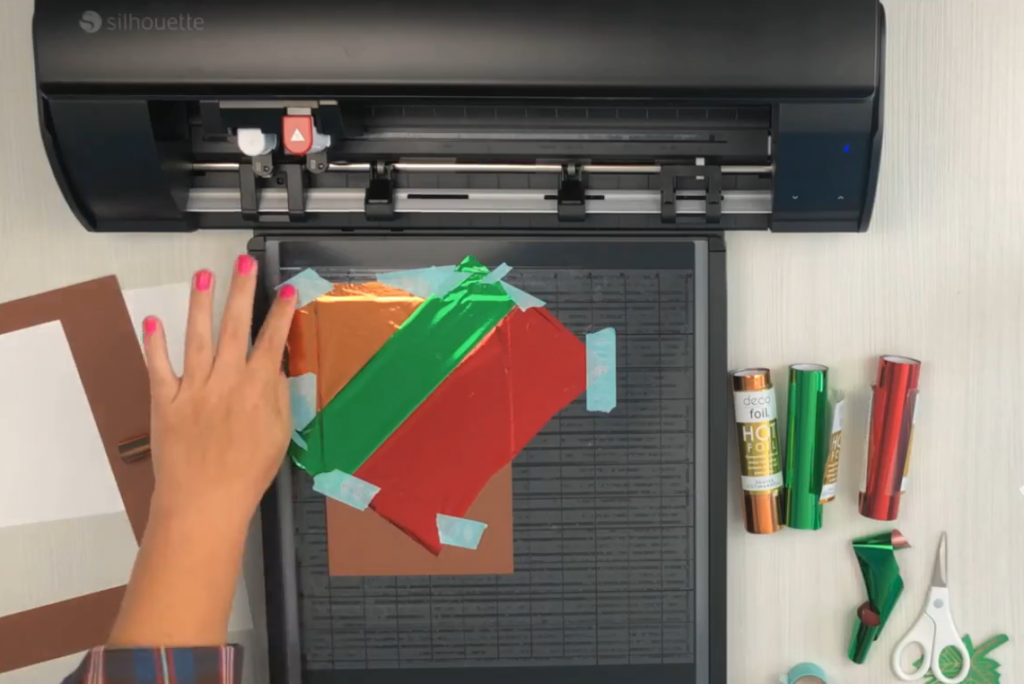
I’m adding foil on a diagonal. Place one color towards the top left corner. Add the next color at the same angle with the straight edges aligning. Repeat with the third color.
The ES Mat will hold the foils in place, but still using masking tape to pull the foil taught and adhere it to the mat not over the cardstock.
Repeat this for the white sentiment strip and inside panel. These are small so you might want to only use 1 color each.

Step 3: Assemble the Happy Harvest Card
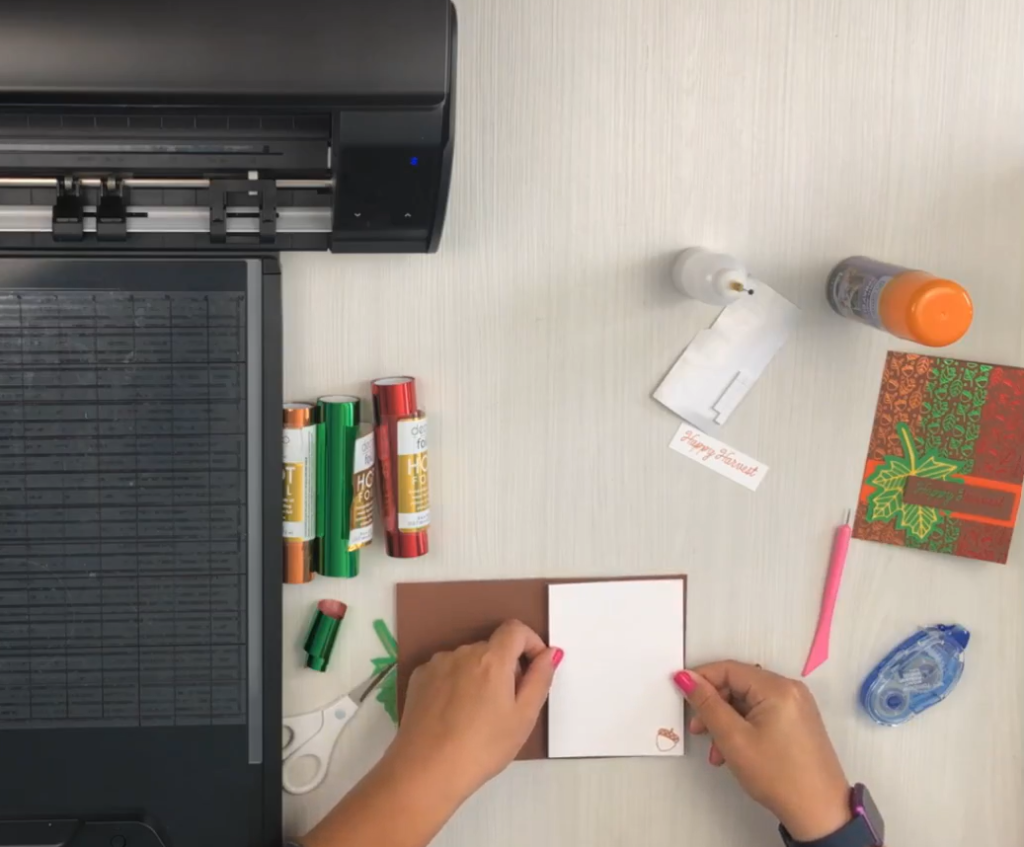
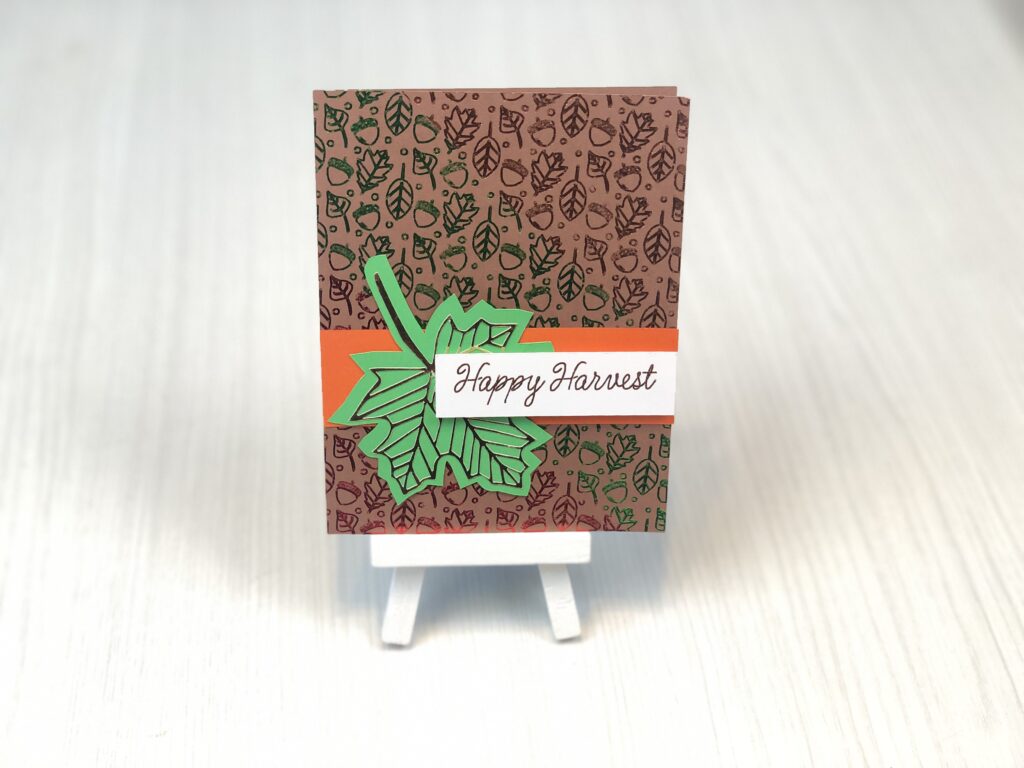
Fold the card base in half on the score line. Use tape runner or liquid glue to adhere the orange strip across the front of the card on the bottom half. Layer the leaf and add it to the left side of the orange strip. Place the white sentiment strip across part of the leaf and the rest of the orange strip.
Place the large white rectangle on the inside of the card and write your personal message.

Step 4: Show off your beautiful card creation
All you need is an envelope and your card is ready for giving! If you want to jazz up the envelope you can heat foil the acorn to the envelope flap as well.

Check out this video for full details.


