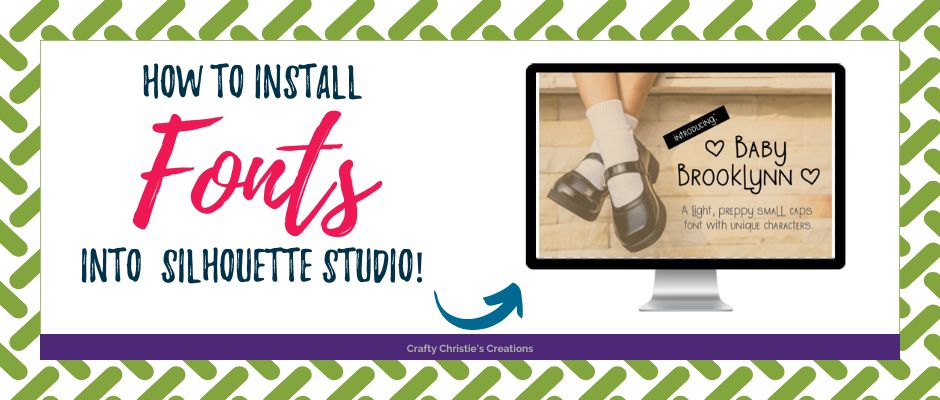
Ever wonder how to add those free fonts into Silhouette Studio? This used to be a super complicated task, but now it can be done in under 5 minutes!
Find the font you’d like to use. I’m browsing FontBundles.net but there are tons of great sites that offer free personal and commercial use fonts.
I’ve chosen Baby Brooklynn font as the one I want to download. Clicking the download button will download the font into the downloads folder as a zip file. I’m using a windows computer, so if you’re on a mac the steps to unzip a folder will be slightly different.
Navigate to the zip file, right-click, and choose unzip. I like keeping all my fonts in a font folder and then I subgroup them by the website. Once you have picked the correct destination, hit extract. This will place all the files into that location.
Now, right-click again on the file you want to use (open type or true type font) and click install. It is as easy as that! Please be sure to read the licensing that comes with the font, we don’t want any misuse problems down the road.
All that is left to do is open Silhouette Studio and enjoy the new font!
Now that you’re addicted to adding all the pretty new fonts, check out my tutorial on how to keep them all organized! Cataloging Fonts


