When is the last time you went out of your way to make someone smile? Granted these days, we all have to smile with our eyes! A smile is such a simple gesture, yet it carries a lot of power.
Let’s be real, life has been over the top stressful for about a year now and we can all use a little boost on the happiness scale. So I’m going to challenge you to drop some unexpecting smile bombs in the shape of rocks.
Painted rocks, aka kindness stones, have been growing in popularity over the past few years. What are these colorful stones, you may ask? Megan Murphy started The Kindness Rocks Project when she was searching for inspiration while walking the beach. She started writing inspirational messages on rocks and leaving them for others to find. The movement has quickly spread across the US and beyond.
I know from personal experience, those inspirational rocks have a way of finding you at just the right moment. Reading those simple messages not only leave a smile on your face, but also on your heart.
So I think it is about time we all start spreading some kindness in our local communities.
Supplies:
Stencil Vinyl
Transfer Tape
Step 1: Find Rocks
I’m fortunate that my yard is actually pretty rocky so I didn’t have to search very hard. Local landscaping businesses and craft stores are other good places to find some rocks for painting.
Step 2: Make a Stencil
Pull up your favorite SVG design to make a stencil. I’m using the Hearts SVG Bundle, which is part of the February 2021 craft challenge (grab it below) to make my stencil.
When making the stencil, start off with a square and add your design to the center. Subtract the design from the square. Remember, you want to cut away all the parts that will be painted. Apply the stencil to your rock and get painting!
Step 3: Paint The Rock
Pull out paints or sharpies and get decorating! I sealed my rock with Mod Podge, but I’ve learned you will still need to add a clear sealant on top. The Mod Podge helped the paint layers not peel away, but it wasn’t enough to hold up to the weather.
Step 4: Share Your Rock
When your rock is all painted and dry (don’t forget to add your social media handle to the back so you can track where your rock goes!) It is time to find a place to drop your rock. Keep in mind, National and some state parks do not permit painted rocks, they consider this a type of littering. Check the rules before leaving your masterpiece laying around.
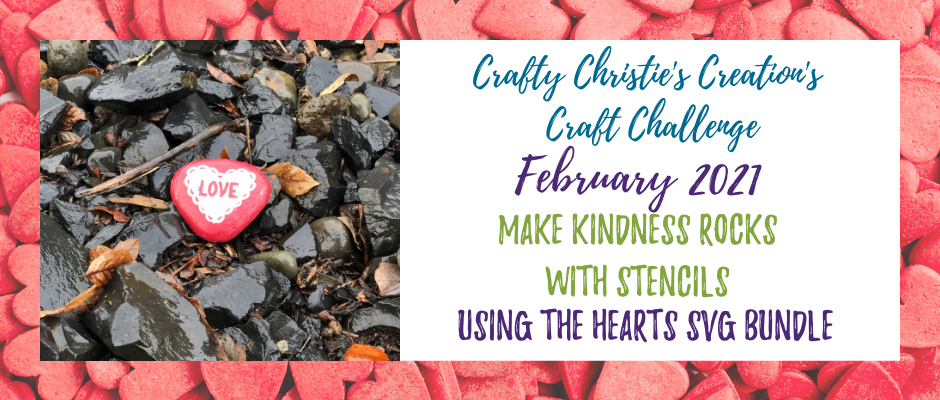
I like to leave mine in areas where there is a decent amount of foot traffic, the goal is for someone to discover it. In fact, I left this heart rock near the street crossing that leads to the grocery store. There is plenty of people walking this route every day, I’m sure someone will pick it up in no time. Nothing beats a smile, to make it a great day!
For the full tutorial on how I made this kindness rock, check out the video below.


