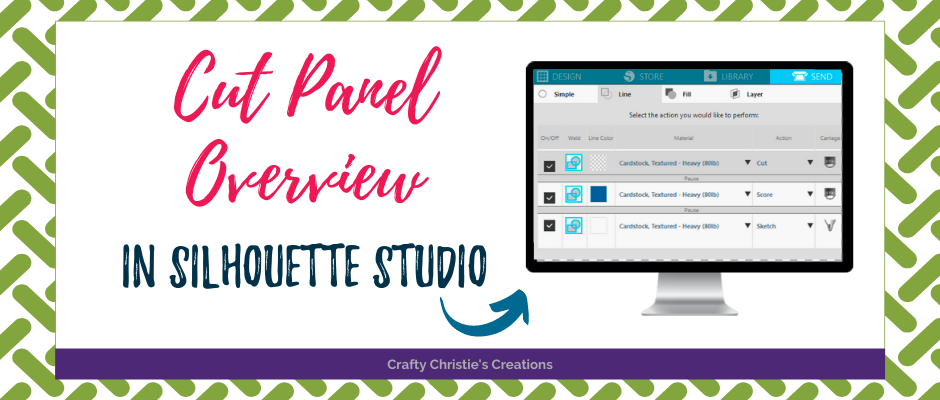
Cut settings are always difficult to figure out. There are so many options on the send panel it can sometimes be hard to choose. If you’re looking for ways to make your cutting more efficient, you’re in the right place. Here is a cut panel overview. Let’s go over the differences in each of the cut panels.
Simple Cut:
First up is the simple cut. This one puts cut lines around everything on the cut mat. You can select each individual object and select no cut.
Cut By Line Color:
When I’ve got a project with more than one action, I like to cut by line color. This gives you options to change the action for each line color and add a pause between actions. The pause allows you time to make adjustments to the ratchet blade before going to the next action.
Cut By Fill Color:
Much like cut by line color, the fill color has the same abilities. The issue I have with this is that score lines and sketch lines both have no fill color. There is no option to differentiate these in the fill color panel.
Cut By Layer:
This option only works if you have Designer’s Edition or higher. To get the most out of these you should open your layers panel and make a new layer for each cut action you want. After that, in the send panel when you cut by layer, it will work to your advantage.
I’m sure you can see the benefits of having all these options. When I’m cutting a simple design I use the simple cut panel. When I’m cutting card designs or any design where I want to do multiple actions at once, the cut by line color is my go-to.
Check out the video below for an in-depth look at each of the cut panels.


