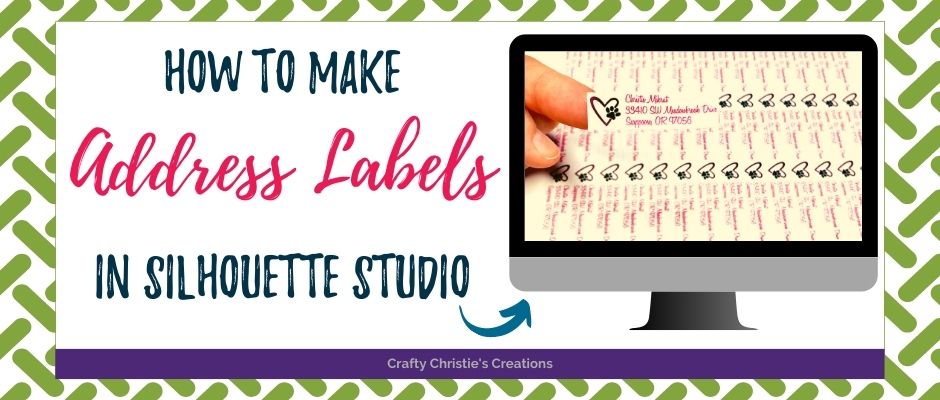
It is never good when you run out of address labels. I mean, who wants to take the time to write out the return address on each envelope, NOT ME! So today it is time to remedy this problem by making our own address labels in Silhouette Studio.
I know what you’re thinking, I can easily make these with the Avery software or VistaPrint. You are correct, however, it is super easy to make custom address labels using your cameo machine! Did I mention a few sheets of address labels make super awesome gifts too! Who doesn’t like getting stickers in the mail?!?! I digress…
Supplies:
Step 1: Make the Sticker Shape
This is a print and cut project, I promise the more of these you do the better you become. Start by making a rectangle that is 1.75 inches wide and 0.5 inches tall (feel free to use any size you like, according to google this is one of the standard sizes).
Step 2: Design the Label
Browse through your designs and find one that suits your needs. Click and drag the design onto your artboard. Resize to fit inside the rectangle. I made my design .35 inches tall and used the aspect ratio lock to keep it proportional.
Type up the name and address, choose a legible font and pick a good fill color. Depending on the font, you will not necessarily need a line color (choose the gray xx if not wanting a line color).
Step 3: Fill the Page
Get everything centered and looking pretty inside the rectangle. Group the pieces so everything stays in place. Make sure those registration marks are on and fill up the page. I like to use the replicate tool for this because the fill page button leaves a lot of dead space that I prefer to fill with prettiness. Keep in mind any part of the design that is in the gray xx area or outside of the registration marks will not be cut out.
Step 4: Print the Page
Once everything is squared away, print the page, or 2 or 3 or however many. The key is to not make any more changes to the design once it has been printed. Now you’re ready for cutting.
Step 5: Cut the Labels
Place the printed paper on the cutting mat to look exactly like the screen. Get that solid square mark on the upper left side of the cutting mat so the machine doesn’t freak out. Check your cut settings, you can make a test cut in the gray xx area if needed.
Now the moment of truth, send the design to the cameo. If it fails to read the registration marks you’ll need to manually get the read. Here is how to get it done: Once you receive an error message on the cameo machine, go back to the computer. Next to the test cut will be arrows and the option to click manual or auto registration. Choose manual. Use the arrow keys to place the laser over the square registration mark in the top left corner. I find it easier to look from the side while you try to eyeball this distance. I start by moving the paper up one or 2 arrow keys then to the right until the laser is over the square. Once you’re happy with the position hit send. Be warned this make take a few tries, so be patient.
When the machine is happy with reading the square it will move down to the bottom left corner and then to the top right corner. Don’t be fooled, I’ve had it do all of this and then fail. Fingers crossed you’ll get it on the first try! Anyway, after all the registration marks are read and the machine is happy it will automatically start cutting. Yay, this is the point in time you get to smile! I feel like I need to say this if after all this trouble your cut lines are not in the correct spots you may need to check that your firmware and software are up to date and try again 🙁
If everything goes well, you’ve got yourself some super custom address labels you can be proud of making. To get extra crazy, put a different address in each box and make the labels a bit larger, and use them to send out your Christmas cards, or invitations.
If you don’t feel like reading all the text check out this video that will walk you through the process.


