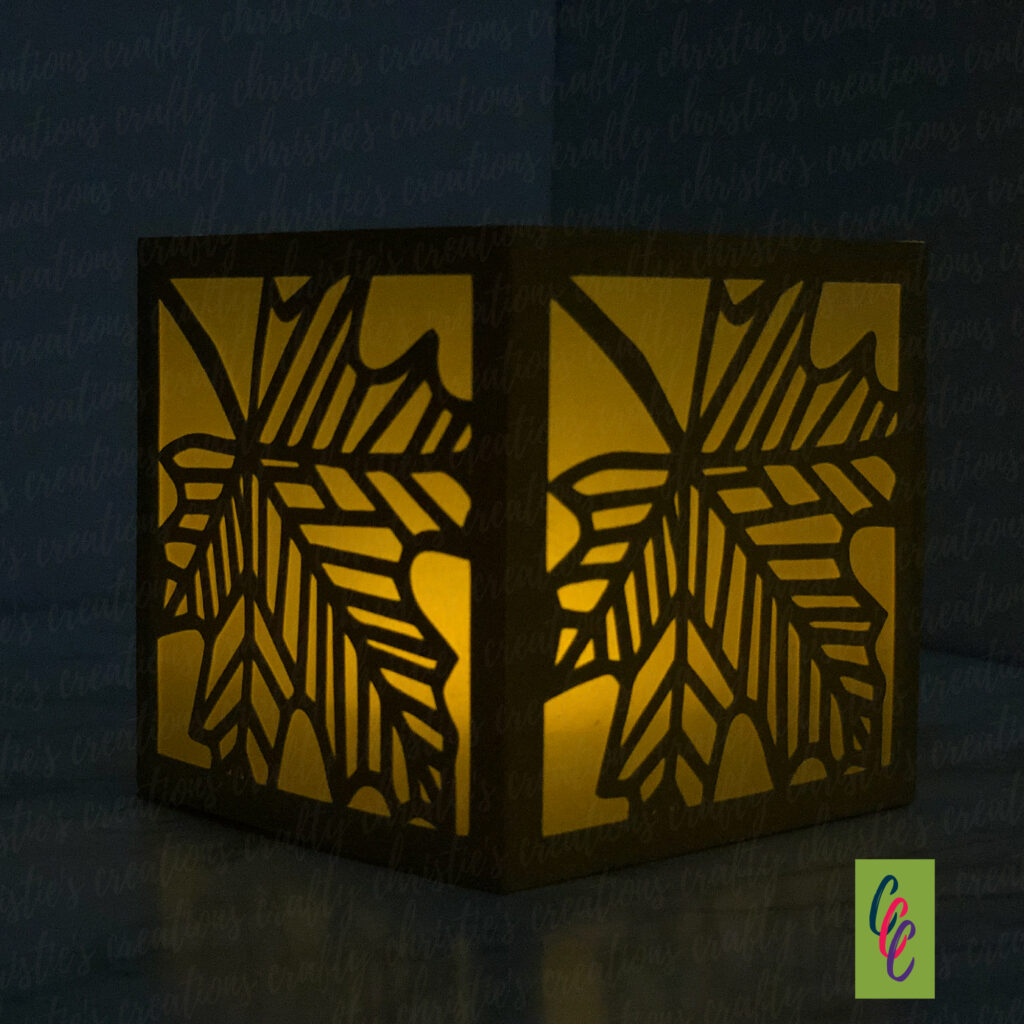
Fall is here! Bring the outdoors inside with the warm glow of a leaf luminary. Follow along as I teach you how to make a fall leaf lantern with your Silhouette cutting machine.
Supplies:
Leaf Lantern SVG
Yellow Cardstock
Vellum
Score Tape
Liquid Glue
Tealight
Silhouette Cameo
Step 1: Cut Out the Pieces
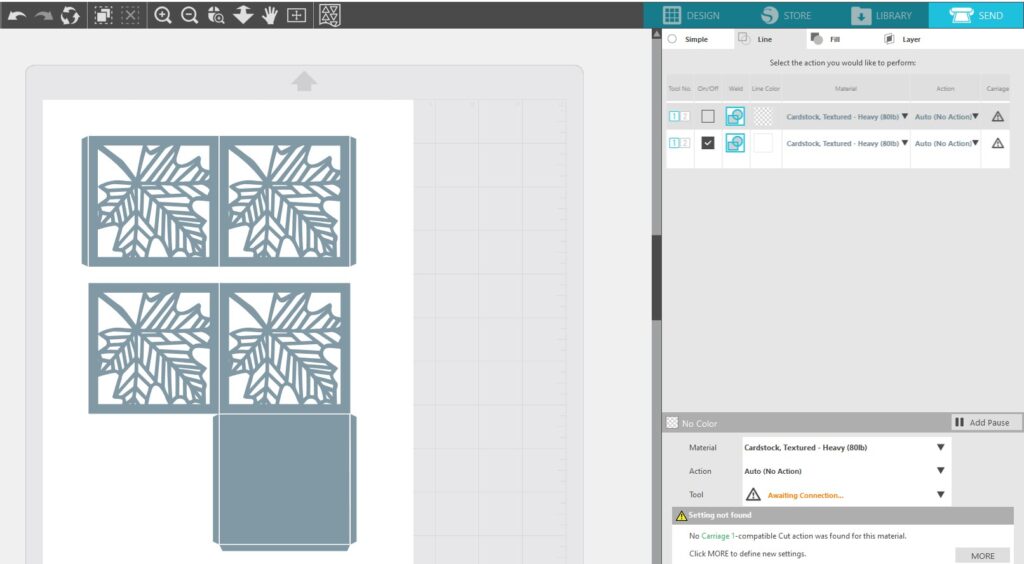
In Silhouette Studio, open both files and cut them out. Cut by line color on the lantern base to change the white lines to score.
Step 2: Attach the Lantern Base Pieces
Fold the side tabs and add glue to one tab. Attach the tab to the side of the other lantern base piece.
Step 3: Add the Vellum
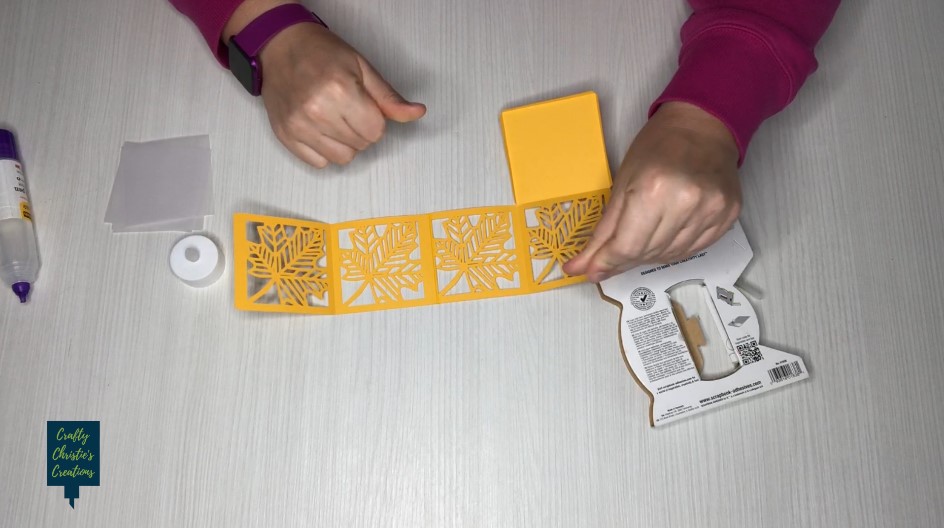
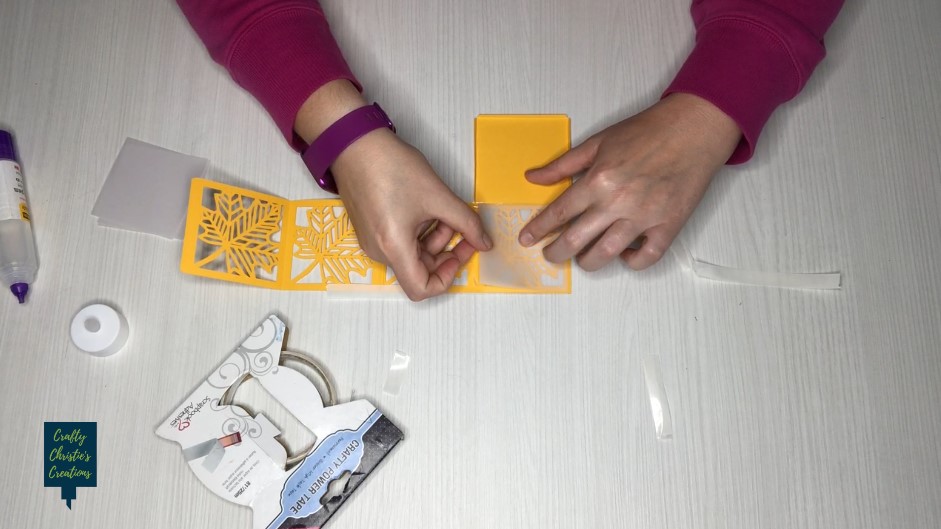
On the inside of the leaf lantern apply the vellum with score tape or tape runner. I don’t recommend using liquid glue on the vellum because it can easily warp the vellum.
Step 4: Make the Lantern Box
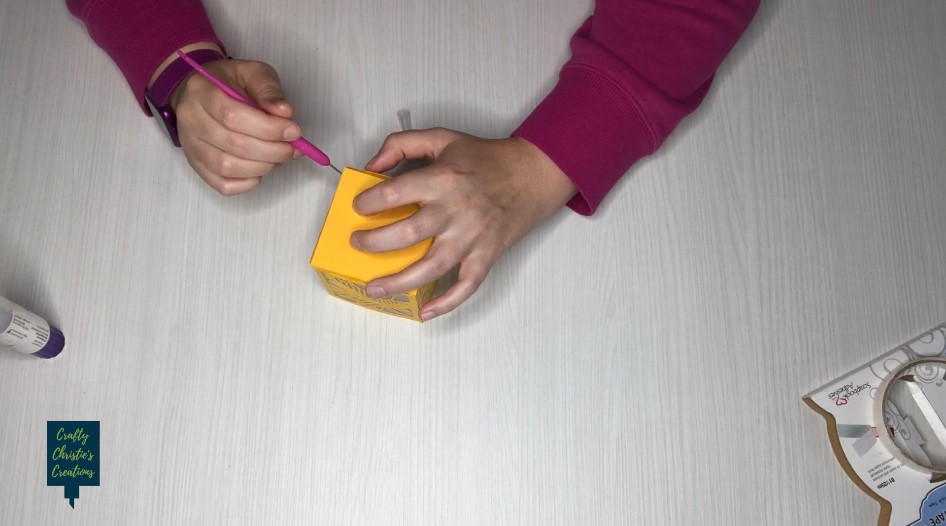
Fold on all the scorelines. Add glue to the remaining side tab and make the leaf windows into a box. Then apply glue to the tabs on the base and adhere it into place.
Step 5: Place the Tealight
All that is left to do is turn on the tealight! I use tealights from Dollar Tree, they come in packs of 2 and give off great light. Display your fall leaf lantern on the mantel, window seal or table and watch the flame throw warm glowing shadows on the wall.
