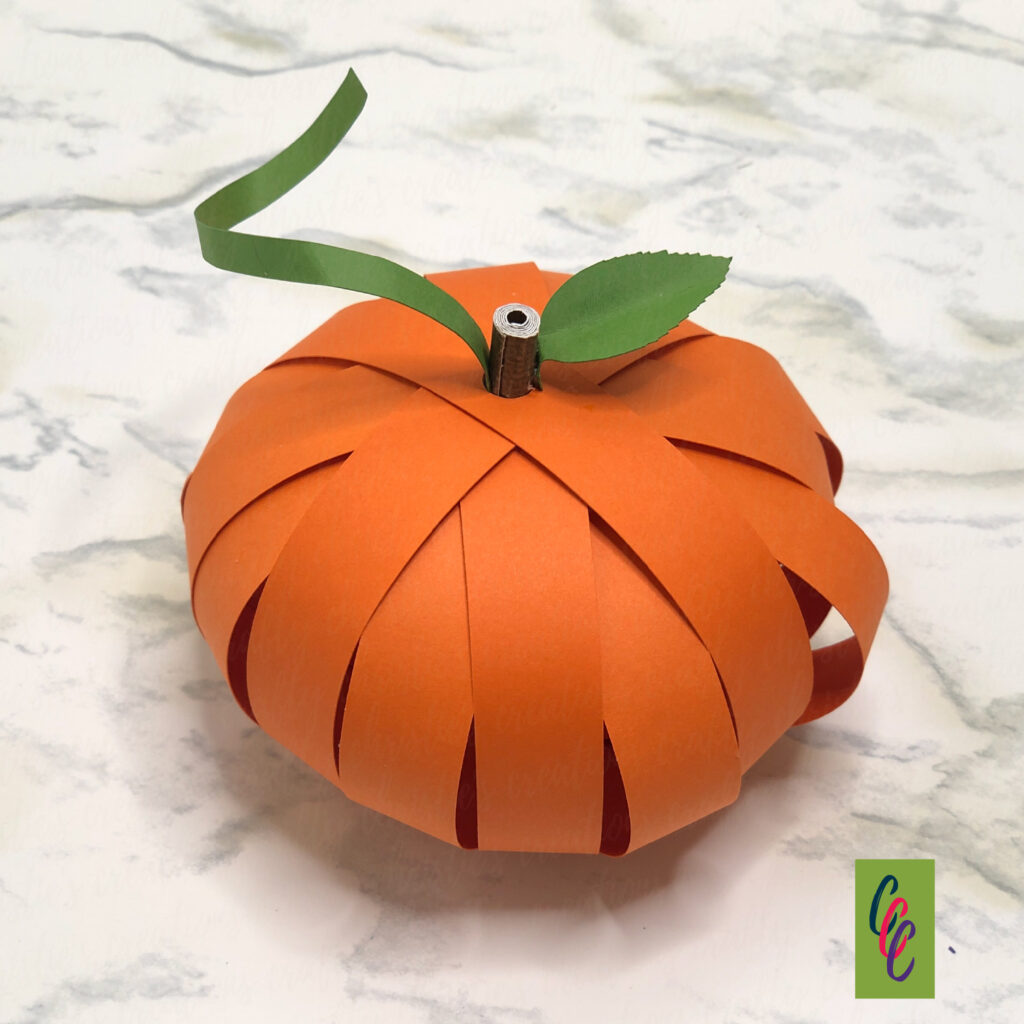
Fall is in full bloom and what better way to celebrate than with 3D paper pumpkin decorations? Follow along as I show you how to transform flat sheets of paper into charming three-dimensional pumpkin masterpieces.
Supplies:
Paper Pumpkin SVG
Orange Cardstock
Brown Cardstock
Green Cardstock
Liquid Glue
Fine Tip Glue Bottle
Cutting Machine
Assembly:
Putting this 3d paper pumpkin decoration together is super easy and takes about 15 minutes. The hardest part is waiting for the glue to dry.
Step 1: Make the Stem of the paper pumpkin
Take the brown strip of cardstock and train it to curl. Then roll it up tightly using a quilling pen or just your hands. Test to ensure the stem is tight enough to fit in the hole in the orange strips. Seal the flap closed.
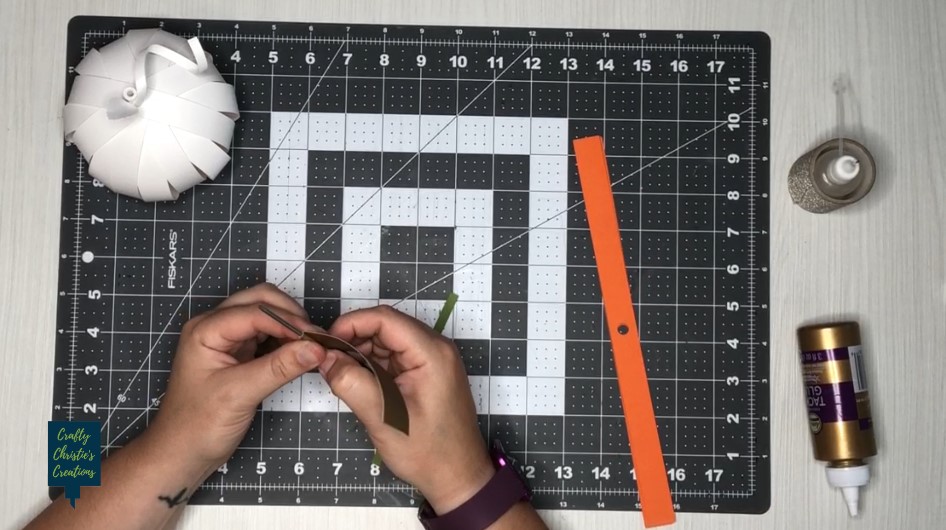
Step 2: Make the Pumpkin Shape
Feed all the orange strips over the stem. Use the brown circle as the base of the pumpkin. The bottom 4 orange strips adhere to the top of the brown circle.
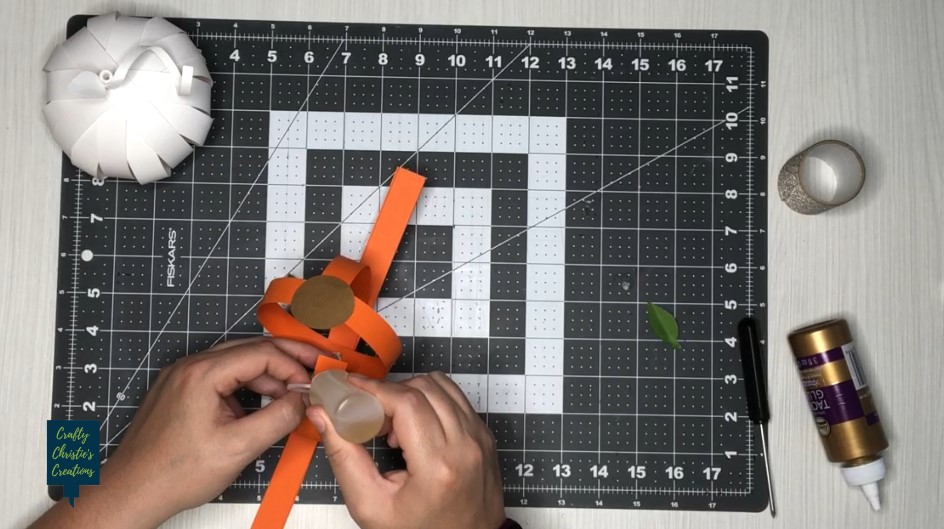
The top 4 orange strips adhere to the top of the brown circle completing the pumpkin shape.
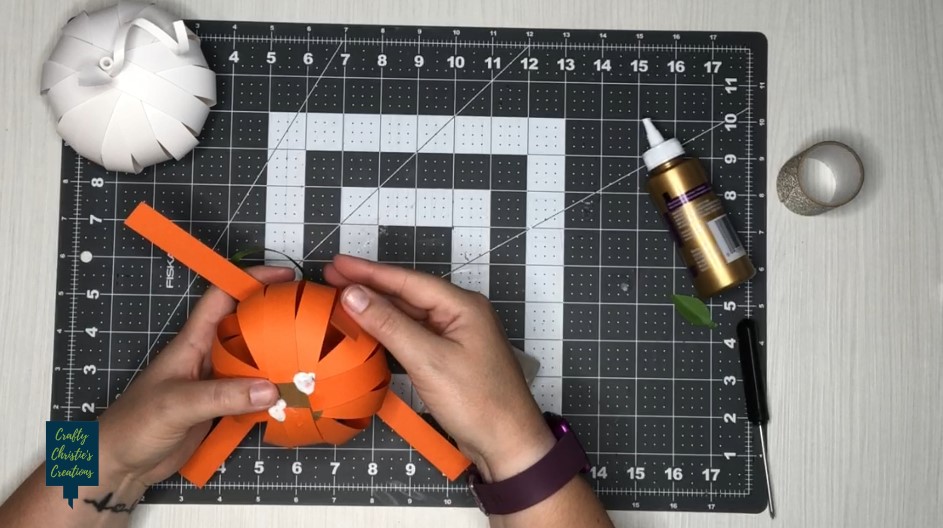
Step 3: Add the Greenery to the paper pumpkin
Add the vine and leaf to the stem. Train the vine to curl by wrapping it around a marker.
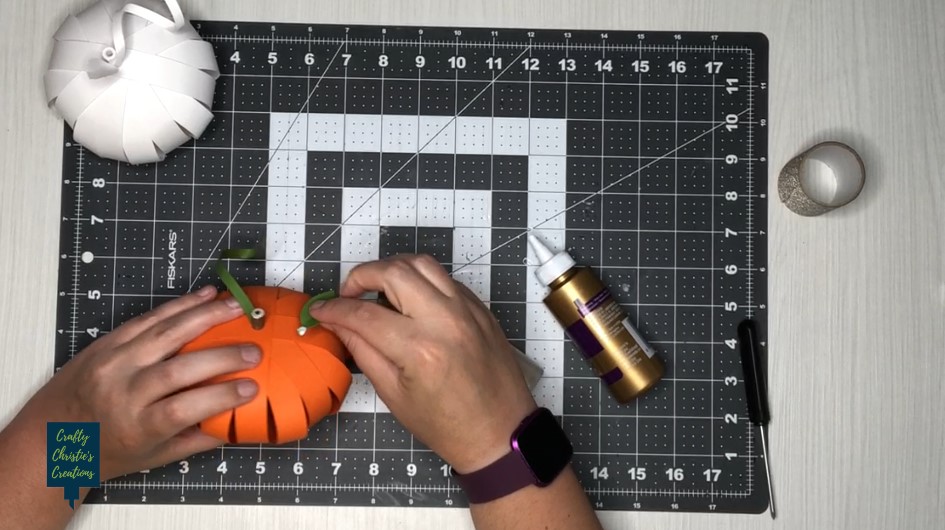
Step 4: Show it Off
Your 3D paper pumpkin decoration is ready to be put on display! These look great on the dining table, the mantel, or the window seal.
