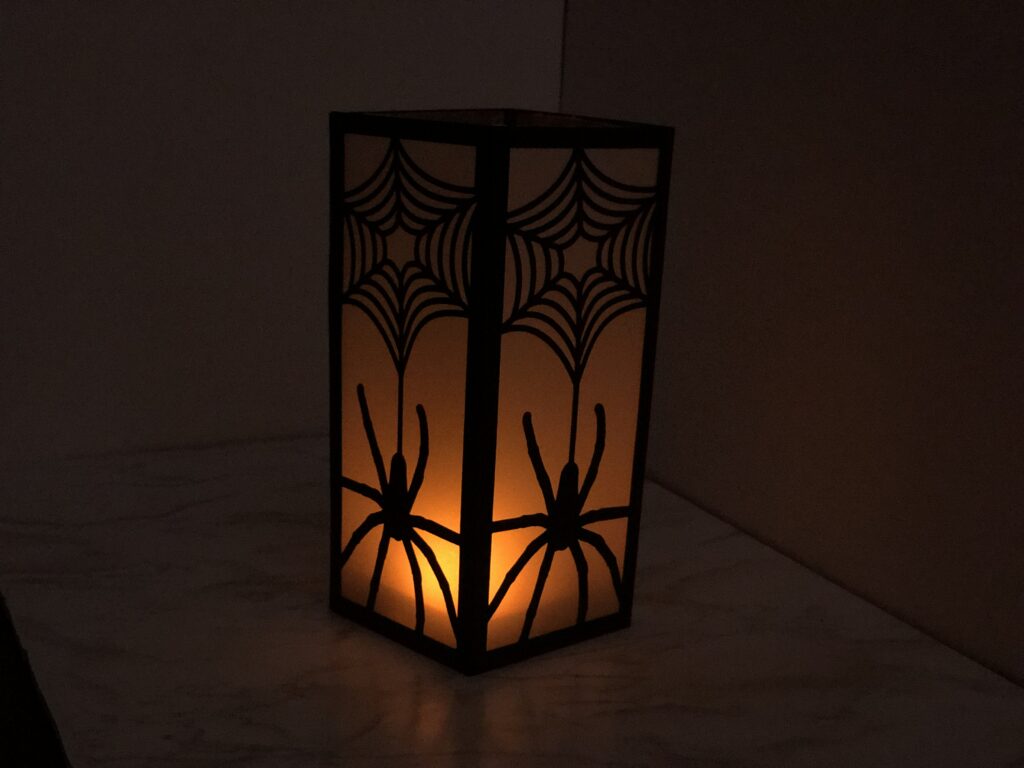
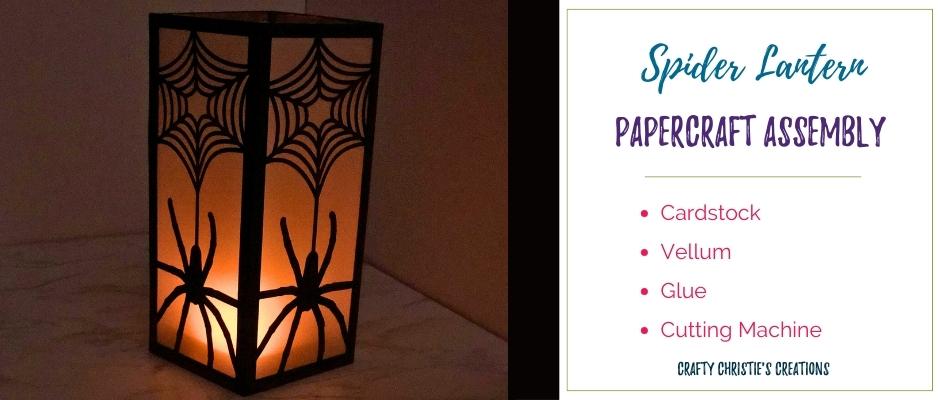
Step into the warm glow of tealight crafting. This spider tealight lantern casts spooky shadows around the home, creating a creepy and mesmerizing ambiance. I’m guiding you through the artful process of assembling my spider lantern cut from sturdy cardstock and vellum with my Silhouette Cameo cutting machine. Unleash your Halloween scary vibes and follow along as we explore the steps to bring this hauntingly beautiful lantern to life.
Supplies:
Black Cardstock
Vellum Cardstock
Score Tape
Liquid Glue
Spider Lantern SVG
Tealights
In Silhouette Studio
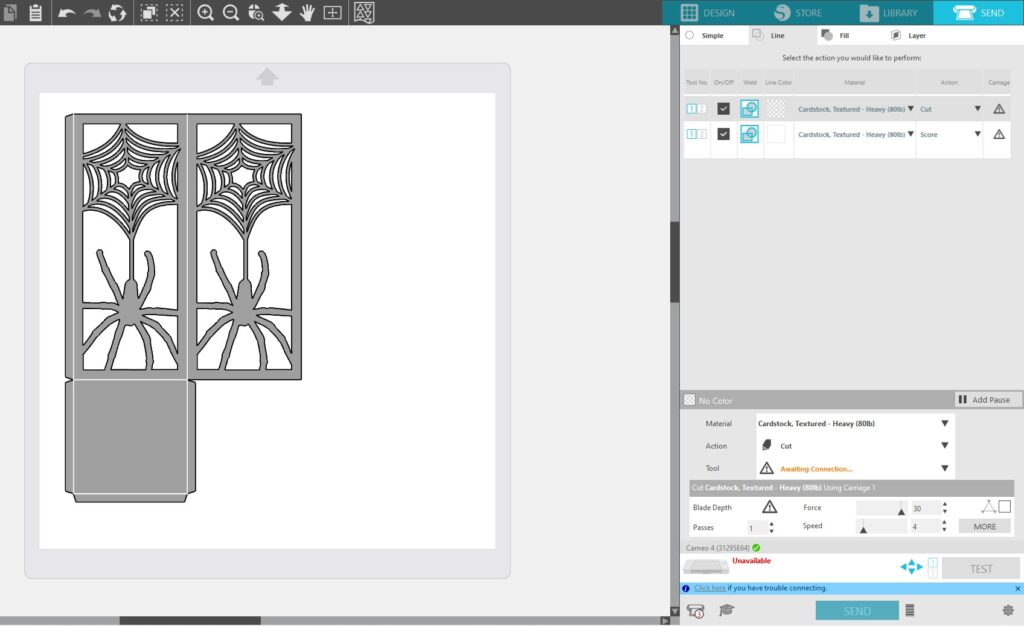
Cut out each of the 3 file pages. Cut by line color for the black design parts. The scoreline will have a white line color, change the action of this color to score. The rest will be no line color, these will have the cut action.
Assembly
This takes about 5 minutes now that all the parts are cut out.
Step 1: Make the Lantern Base
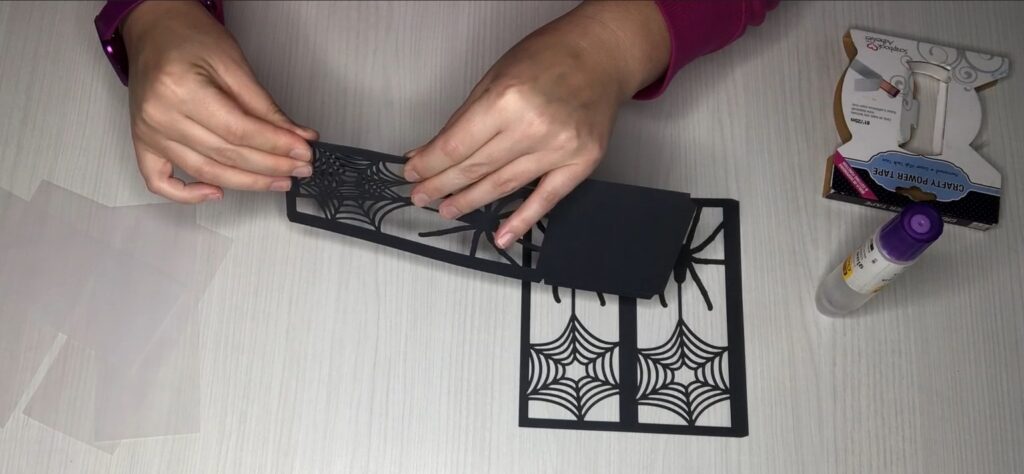
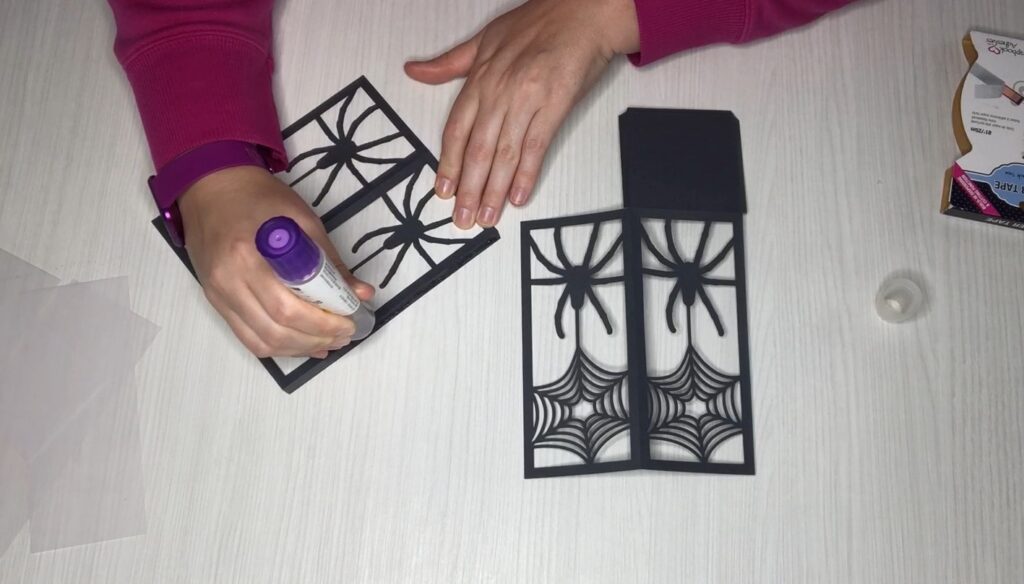
Fold the black pieces on the scorelines. Add liquid glue to the side tab to attach the 2 black pieces together.
Step 2: Add the Vellum
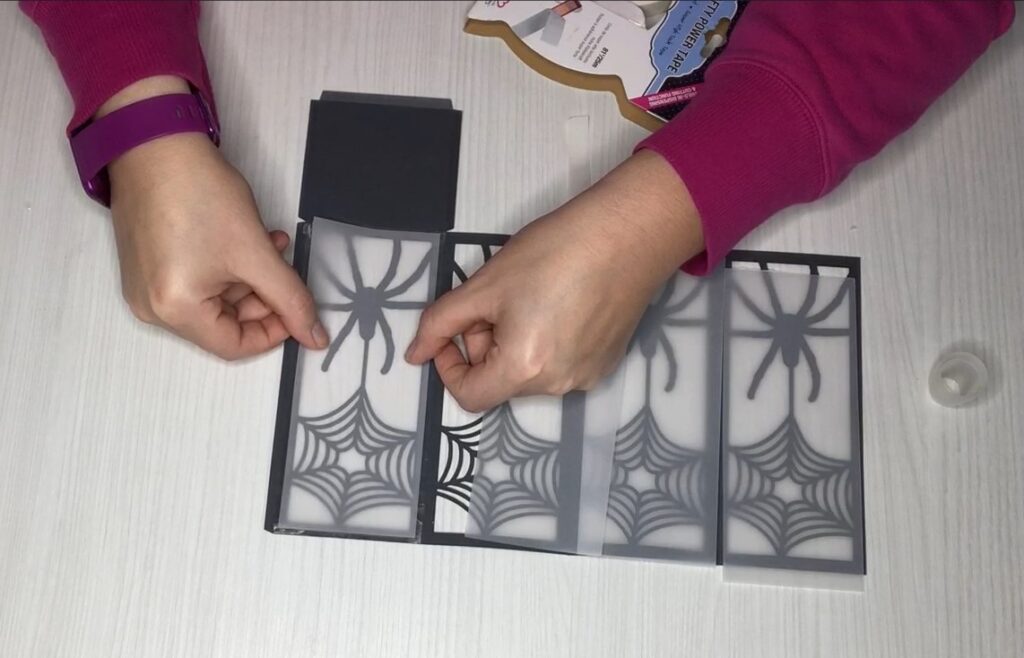
Flip the spider lantern base over and use the score tape to adhere the vellum to the inside of each lantern window.
Step 3: Close Up the Lantern
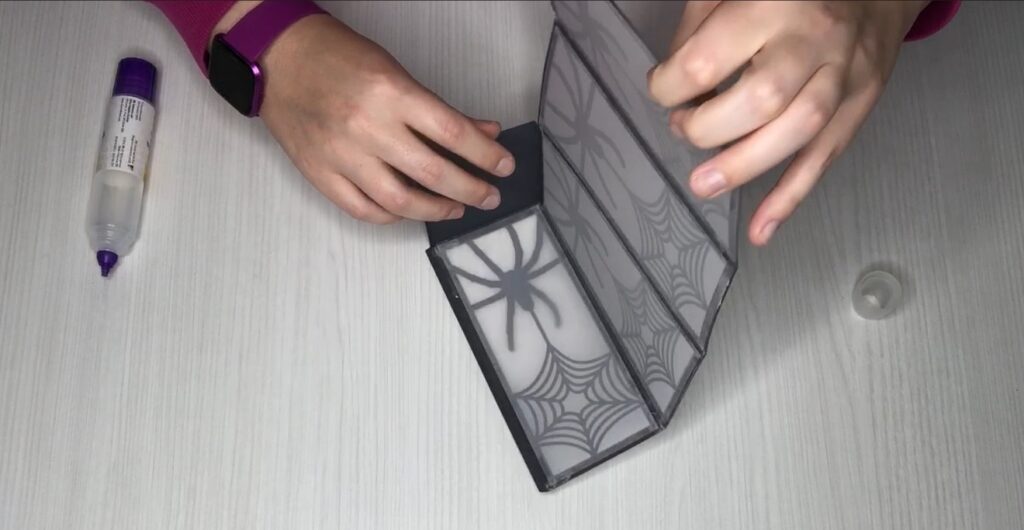
Use liquid glue to join the lantern windows to the tabs on the bottom of the spider lantern.
Step 4: Light the Lantern
Drop a tealight into the lantern; watch it glow and throw shadows around the walls.
