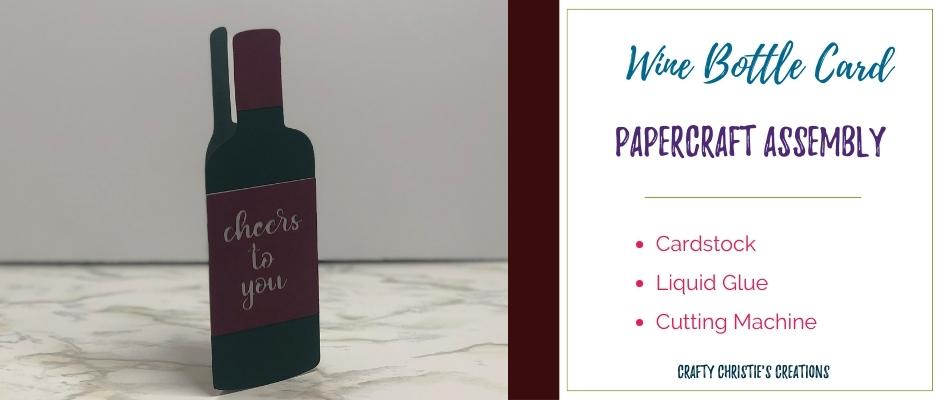
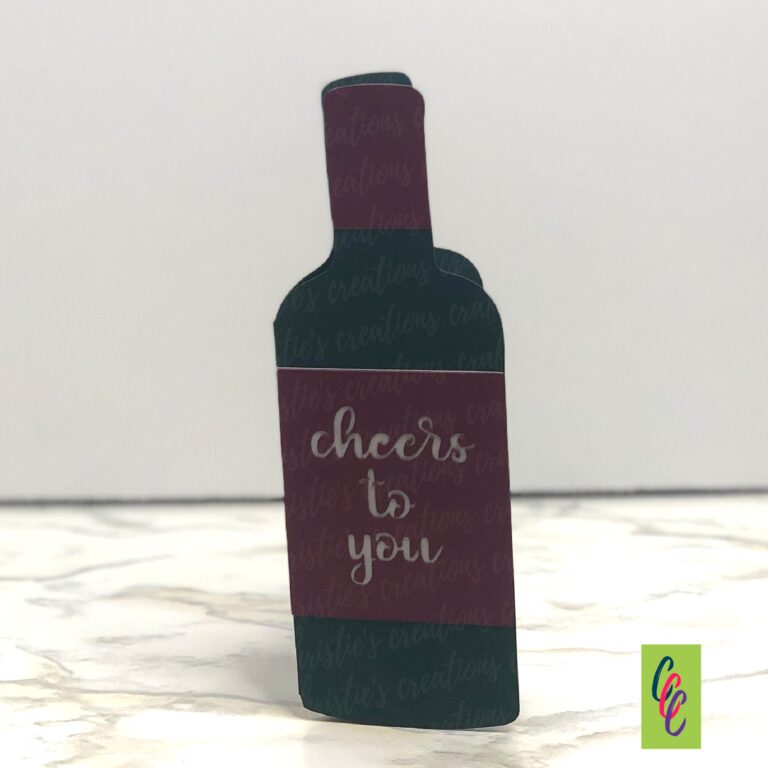
Today, we embark on another creative journey as we assemble a quick and easy wine bottle-shaped greeting card. Whether you’re an experienced crafter or a newbie to the art of cardmaking, this DIY wine bottle card promises to add a touch of personalization to your heartfelt messages. So, grab your materials, and let’s craft together.
Supplies:
Wine Bottle Card SVG
Dark Green Cardstock
Gray Cardstock
Red Cardstock
Liquid Glue
Cutting Machine
Step 1: Prepare the Front Piece
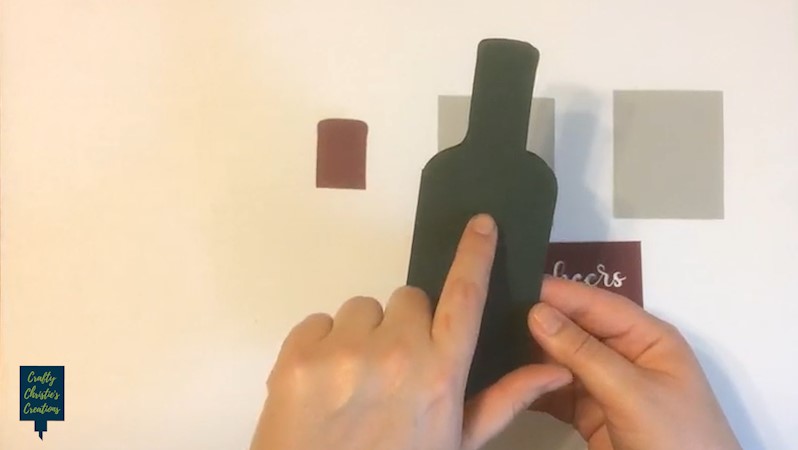
Begin by selecting the green card base. Take a moment to locate the score lines; one at the bottom and another at the top. Look at the 2 gray pieces, one is slightly larger than the other. The larger piece is for the front of the card. Apply a thin, even layer of liquid glue to the back of the red rectangle that says “congrats to you” and adhere it to the larger gray rectangle. If there are any torn-out sections, use a little glue to reattach them.
Step 2: Attach the Front Piece
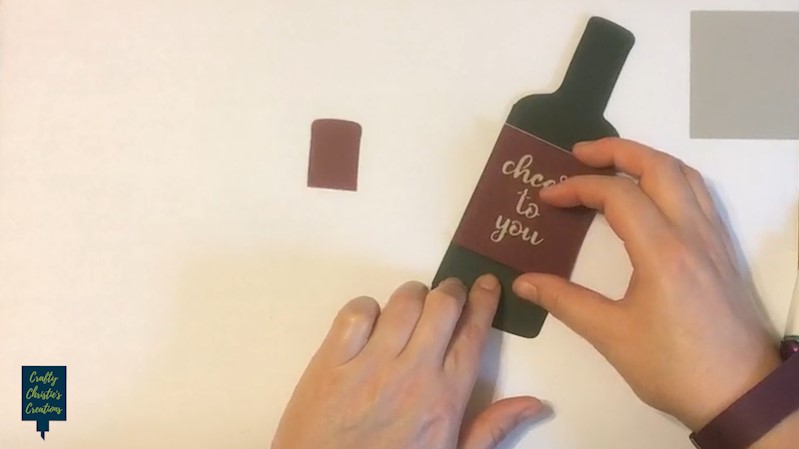
Carefully align the edges of the front piece with the corresponding edges on the card base. Stay within the scorelines on the card base. Press down firmly to ensure a secure bond. Add the red bottle top aligning it flush with the top of the card base.
Step 3: Add the Inside Piece
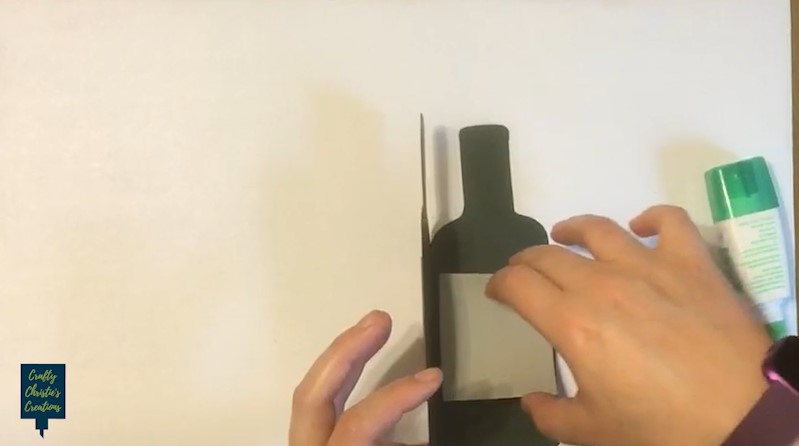
Now, take the smaller of the two gray pieces and adhere that to the inside of the card. There is a slight boarder around the edges. Stamp or write your message on this piece, there is plenty of space.
There you have it – your wine bottle card is ready to spread some wineo cheer. Whether it’s a birthday, anniversary, or any special occasion, your handmade card is sure to make a lasting impression. Cheers to spreading joy, one card at a time!
Check out the video below for more details.

