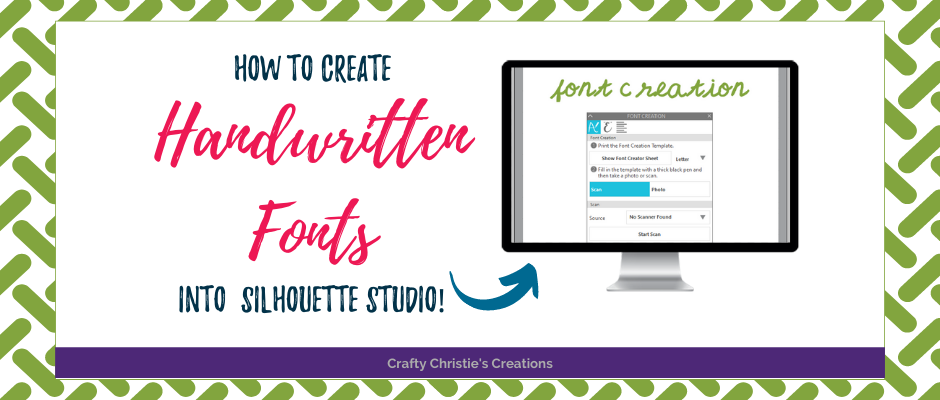
Are you a font addict like I am? Well, I’ve got even more good news for you. Silhouette makes it easy for you to turn your own handwriting into a font! I have to say I’ve known about this feature for some time and finally got around to giving it a go. Let’s jump in and give font creation in Silhouette Studio a try!
You will need to have business edition of Silhouette Studio to use this feature, I promise if you upgrade you won’t ever regret it!
On the right-hand side just below your text panel is the font creation button. In order to create your font, you’ll need to print out the font form. This is where you do your writing.
Once you’ve got it all filled out, take a photo of your page and upload that to your computer. Much like you do when using the PixScan mat. I take the photo with my iPhone, email the photo to myself and then download it to my computer.
Back in Silhouette, you’ll hit the photo button, navigate to the photo and it should upload the letters. This takes a minute as it goes through each letter.
Now comes the tedious part, go through each letter and use the point editing tool to smooth it out and make it look good. When you’ve got that completed you can save the font.
There are 3 different options for saving. Basically, you can save the font to use just for this session, save to your computer which can then be used by other programs like Microsoft word, or just save the font to your computer but not put it into use. I’ll go over this more in the video below.


