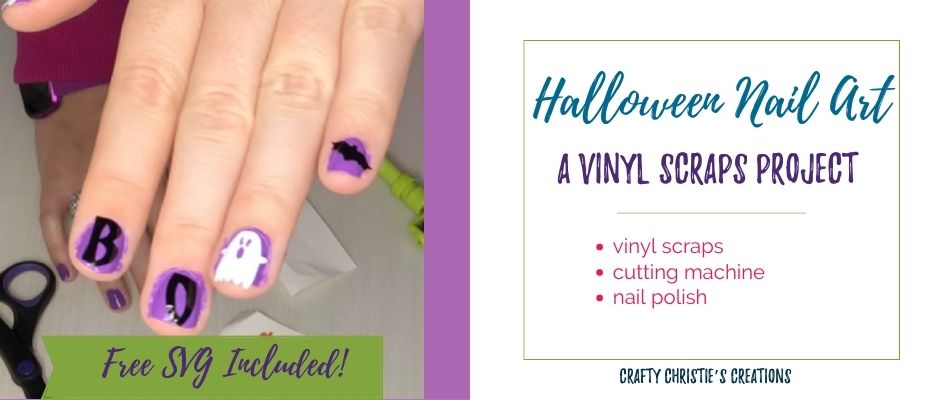
Do you have a bunch of scrap vinyl laying around? If you’re anything like me, you can’t bear to toss a scrap, it might be useful later. I’ve got the perfect project for even your tiniest bits of leftovers. Make some nail art with vinyl scraps!
In my many attempts to get into the Halloween spirit, I’ve been finding different crafts I can do to decorate for the occasion. This one was a no brainer. As a child, I loved painting my nails and I was always trying to do polka dots and stripes, which were about the only thing I could do with a nail polish brush.
I also enjoyed the press on stickers that later came out, but now, with vinyl in most households, it is much easier to get creative with nail art. It is time to bust out your orange, white and black vinyl scraps and get cutting!
First things first, paint your nails beforehand and make sure they are good and dry. I waited for about 4 hours before applying vinyl. Pull out a measuring tape and record the length and width of your nails. My thumbnail is about .5 inches wide x .5 inches long. In the video, I made each design .5 inches in height, since then I’ve resized the graphics to be .25 inches tall so they don’t take over the entire nail.
Did I mention I’m giving these Halloween nail art designs away for free? Put in your first name and email in the box below to get your free SVG files!
I’m also going to show you how to arrange everything so you won’t need a Pixscan mat to cut designs out of your scraps!
When you’ll all done placing your vinyl on your nails apply a generous coat of clear over top to help the edges from getting caught. When it’s time to remove, nail polish remover should do the trick, or some rubbing alcohol to get the vinyl off. Since you’ve put the polish on first, your actual nails shouldn’t get ruined when pealing everything off.


