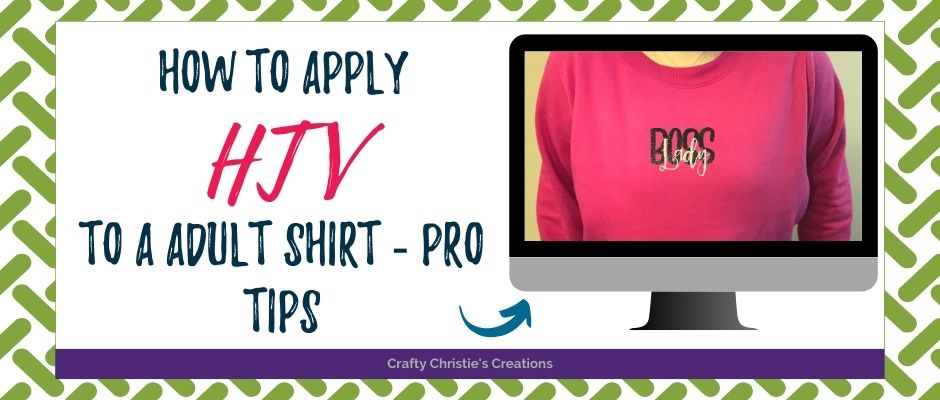
Do you struggle with placement of your design on T-shirts. The first few I made were pretty embarrassing. My decals we not centered left to right nor top to bottom. It was pretty funny watching someone put the shirt on. I let out a gasp of horror when I realized my decal was too far left and riding a bit low. Needless to say I needed to shape up and get this figured out! Today I’m sharing my pro tips for t-shirt design placement. Once you’re done reading this you’ll be able to center the design across the chest every time. This crafty hack will work on any adult sized shirt. It only adds an extra few minutes of work but, that beats redoing a shirt!
Supplies Needed:
fabric pencil / marker
tape measure
iron / heat press
Step 1:
Fold the shirt in half the long way, seams together, and iron the fold to crease.
Step 2:
From the armpits fold the shirt in half and press the seam.
Step 3:
Trace over the pressed creases with a fabric pencil. (this step can be skipped if you’d like)
Step 4:
Make a mark 3 inches below the neck collar using a fabric pencil.
Step 5:
Make a mark where the design will end to reference placement. (this will help determine how large to cut the decal)
Check out the video below for all the details.


