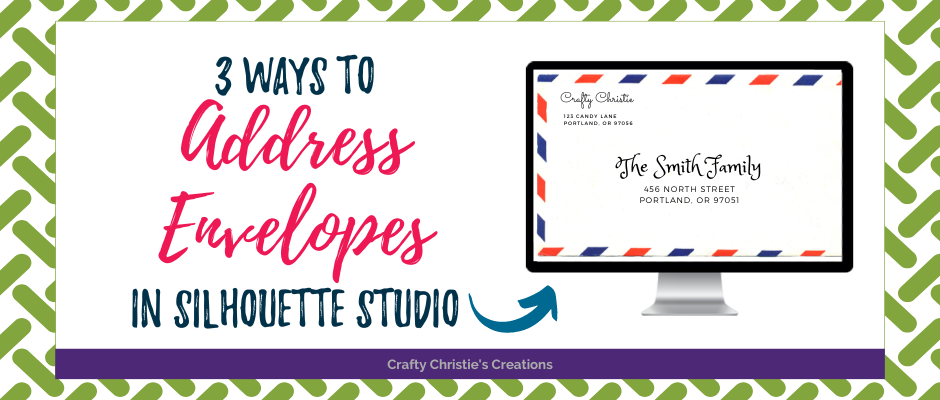
Are you getting ready to send out all those Christmas Cards? One thing I HATE about sending so many cards is having to write out everyone’s address. After the 2nd card, my handwriting gets really messy and hard to read. I’ve decided to skip the messy handwriting and put my Silhouette to work instead. Depending on how many cards you are sending, will help determine which method you’ll want to use. Keep reading for 3 ways to address envelopes in Silhouette Studio.
Option 1: Sketch Pens
Lay out your media size to the same size as your envelope. Write out the return address and recipient address. If you have sketch fonts, these will work best. If not, use your favorite font and either add internal offsets to fill in the letters, use the sketch fill panel, or use a thicker pen.
Place your envelope on your mat and send it to the machine. Change over your action to sketch and watch your Silhouette write out each envelope with those beautiful fonts.
This is a good option if you only have a few cards since you’ll have to load each envelope one at a time. I’ve done a few videos on sketch pens and offsets if you’d like to check those out too.
Option 2: Print the Envelopes
Again change your media size to the envelope and lay out the addresses where you want them. Add fill colors to the text since the line colors will only print if they are given a point value.
When you send it to the printer change your preferences for your printer to match the envelope. You’ll see I really struggled with this because I couldn’t get my printer to let me choose the correct envelope size.
This is a one-at-a-time option as well since you can only set up 1 envelope to print. To make this faster you can open multiple tabs in Silhouette for each envelope and then just send them to print one after another to speed up the process.
Option 3: Address Stickers
A great option for bulk production is making a page of address labels. Write out the return address and add a cut box around it. Group the address and box together and duplicate them in rows until you have enough for all your cards. With the leftover space type out each recipient’s address and add a cut box around those as well.
You don’t have to worry about the cut box printing because it doesn’t have a point value. Do yourself a favor and make all the cut boxes the same color that is different from anything else on the page. After you send the page to the printer then you can cut by line color.
If you can’t get a single color that is different, you’ll want to select all the addresses while holding down shift and then click “no cut.” This is another option to only cut the boxes around each address. I’ve done a very in-depth tutorial on making address labels in the past, you can view it here.
For more information on these 3 ways to address envelopes check out the video below.


